Size | Color | Logo | Interior Design | Personalized Design
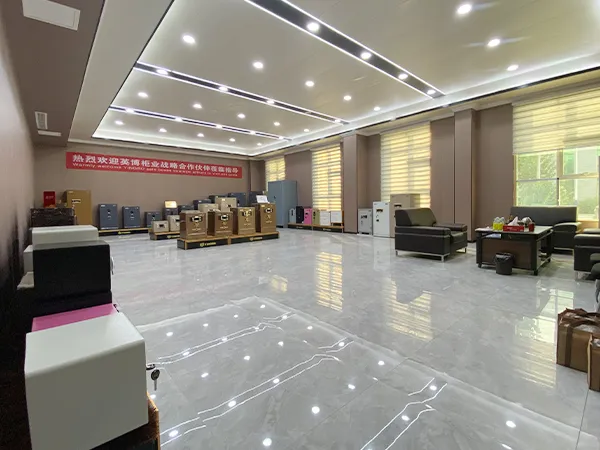
YB/N6 series occupies 22% market share due to its glossy surface treatment technology, silver fittings match up with luxury velvet leather decorations, thickened steel and attractive price. The interior and exterior configuration can be customized. Follow the web page, join the DIY design or share us your new idea, you will get the only one plan just for you.
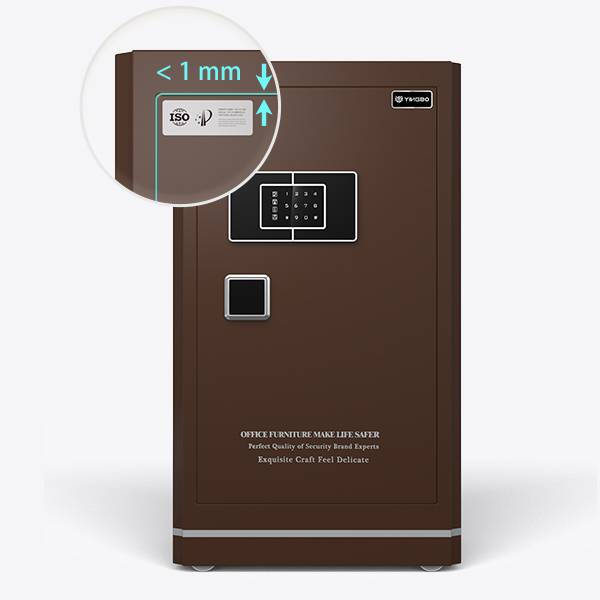
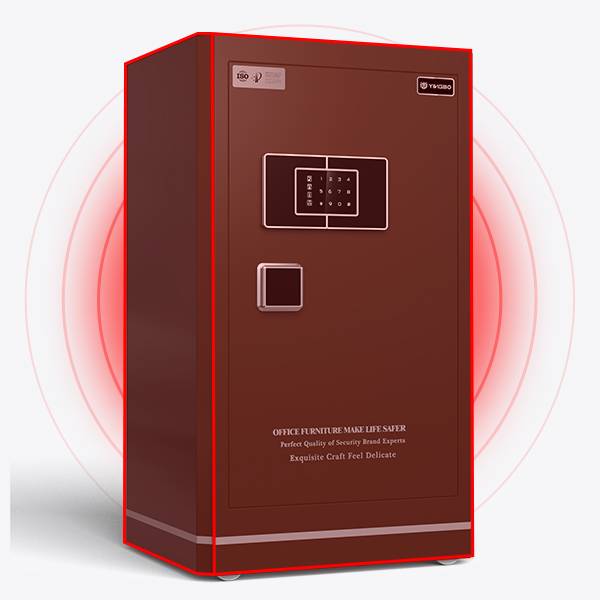
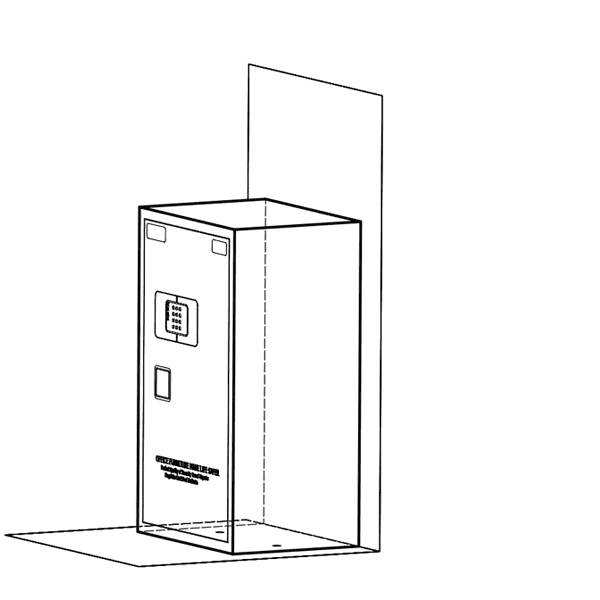
Flat door seam design provides 360-degree physical protection from forced entry.
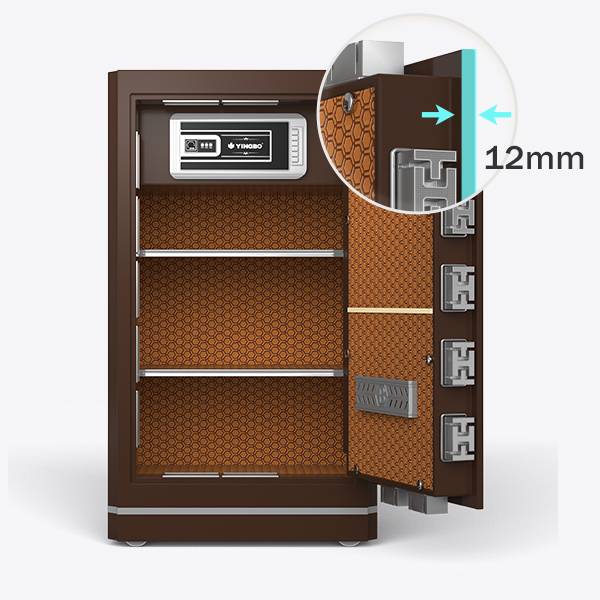
12 mm steel door panel offers excellent anti-drilling and explosion-proof performance.
Patented Dual T-type bolts greatly increase safety up to 200%.
5 incorrect password entries or strong vibrations can activate the alarm system. Enter the correct password or fingerprint can stop the alarm.

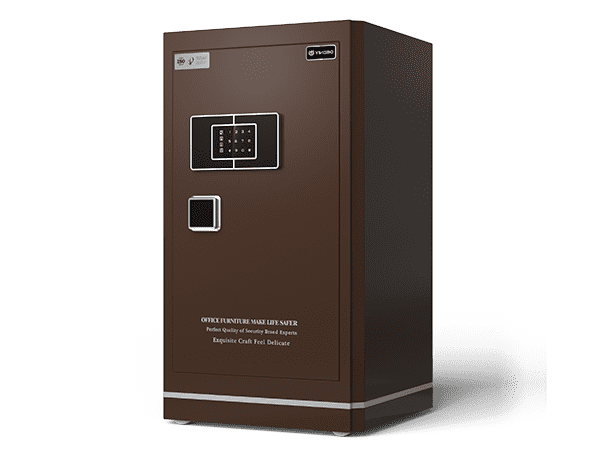
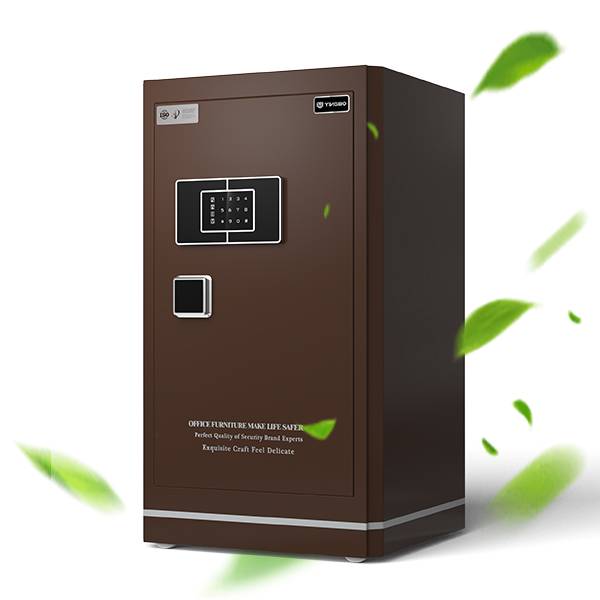
With CE & RoHS certified, all safe paints contain zero VOCS and do no harm to the environment and human body. Unique seal brown glossy powder coating is provided to upgrade your overall decoration effect.
Bevel edge design, together with its diamond section, can offer better stereoscopic sense and bring more modern charm to the safe. Besides, white font at the bottom of the safe also makes the safe more beautiful.
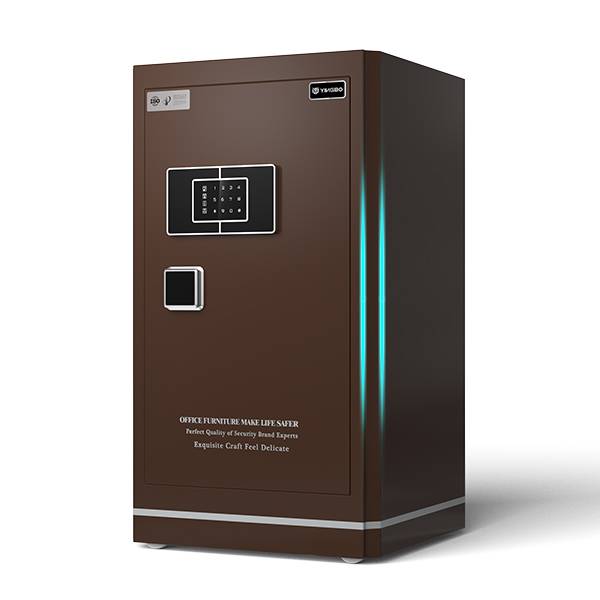
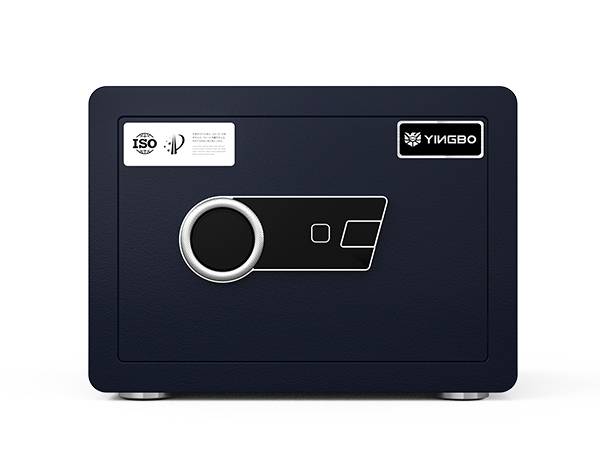
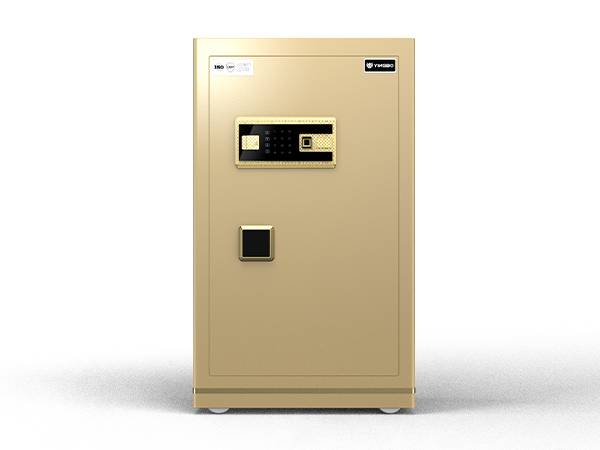
Semiconductor fingerprint technology is used to improve the accuracy of fingerprint identification. Its unique silver edge design is perfectly integrated with its cayenne surface, adding more fashion charm to the safe.
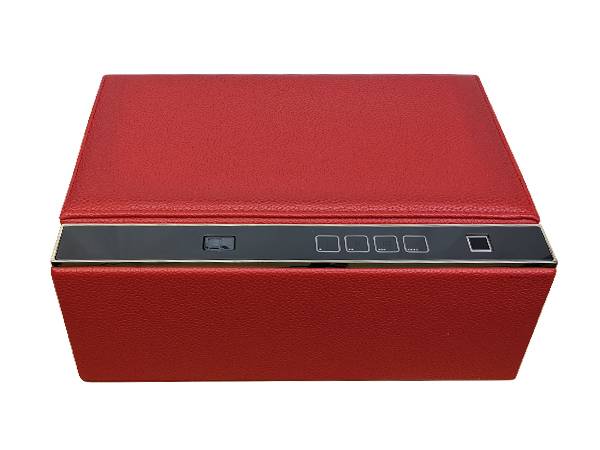
The back cover of the door panel is fully covered with luxury velvet leather to conceal battery case. Besides, key hooks and file frames are provided on the back of the door panel to facilitate keys and documents storage, thereby achieving maximum space utilization.
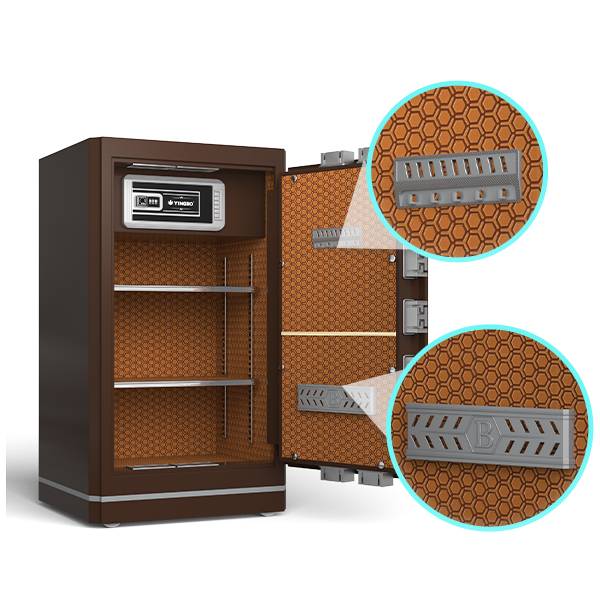
Inner locking box adds another protection for your safes and allow you storing your private items. Besides, instructions indicated on the back of the box makes your operation easier.
Adjustable shelves with high grade soft leather are provided to create one or more flexible storage spaces while bringing you luxury experience.
 |
|
| Model | YB/N6-35 |
|---|---|
| External DIM. (H*W*D) (mm) | 350×400×310 |
| Packing DIM (mm) | 450×500×410 |
| Door THK (mm) | 12 |
| Body THK (mm) | 2.2 |
| N/W (kg) | 25±2 |
| Shelf (pcs) | 1 |
| 20' FCL (sets) | 281 |
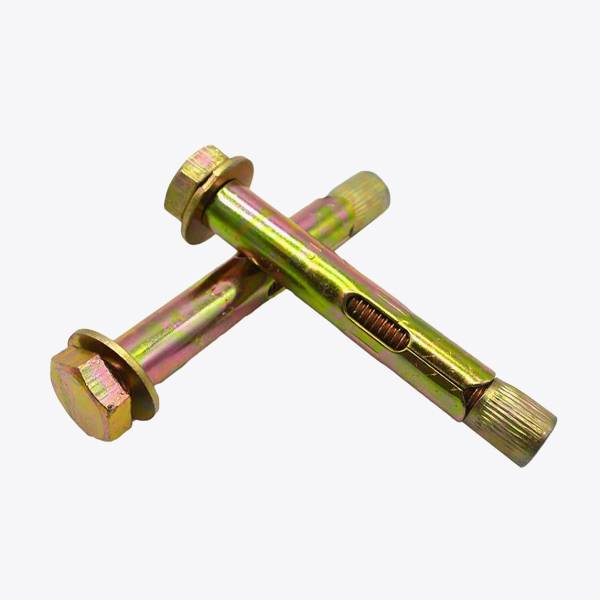
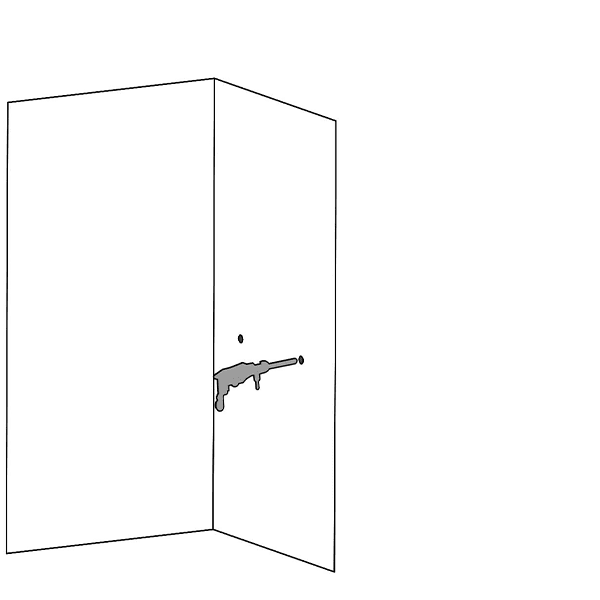
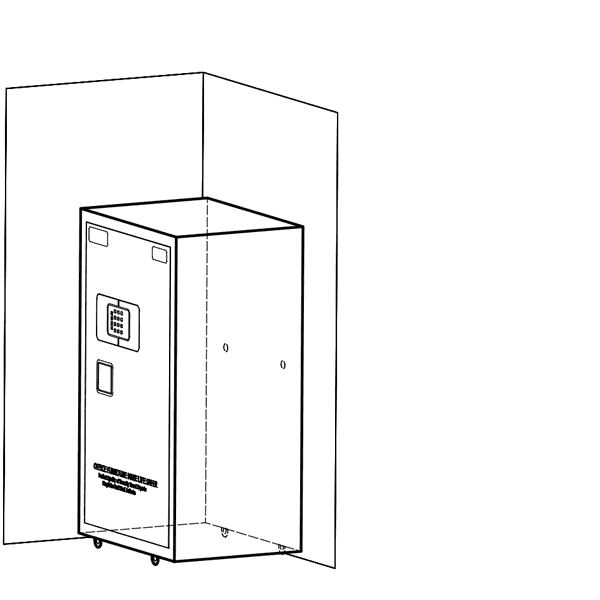
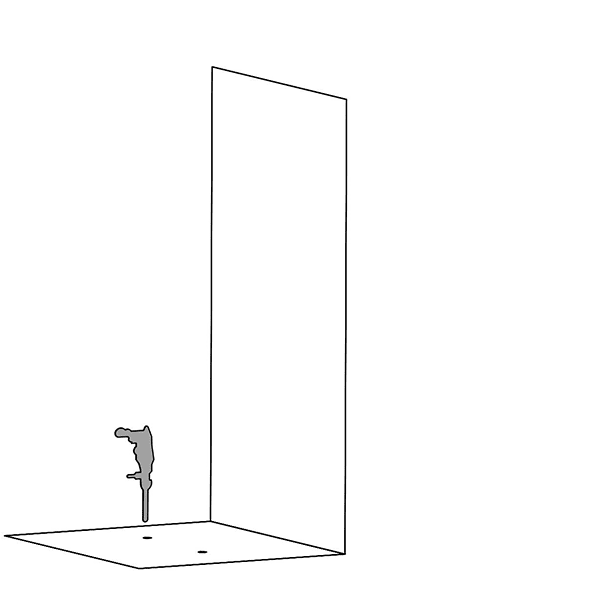
Fix-in-Wall
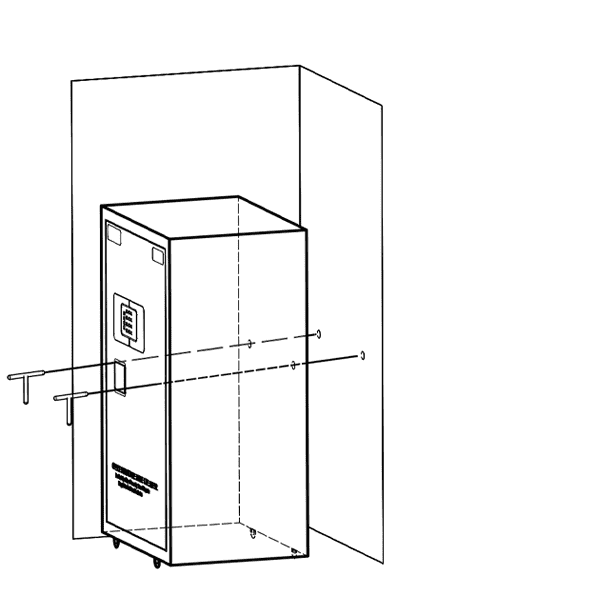
Fix-in-Floor
Step 1
First, measure the distance of the two installed holes and mark the points on the wall you wanna drill. Drill holes on the specified location with percussive drill.
Step 2
Let the holes on the back of the safe and be aligned with the predrilled holes on the wall. And then, install expansion bolts.
Step 3
Screw the expansion bolts and the safe installation is finished.
Step 1
First, measure the distance of the two installed holes and mark the points on the floor you wanna drill. Drill holes on the specified location with percussive drill.

Step 2
Let the holes on the bottom of the safe and be aligned with the predrilled holes on the floor. And then, install expansion bolts.
Step 3
Screw the expansion bolts and the safe installation is finished.